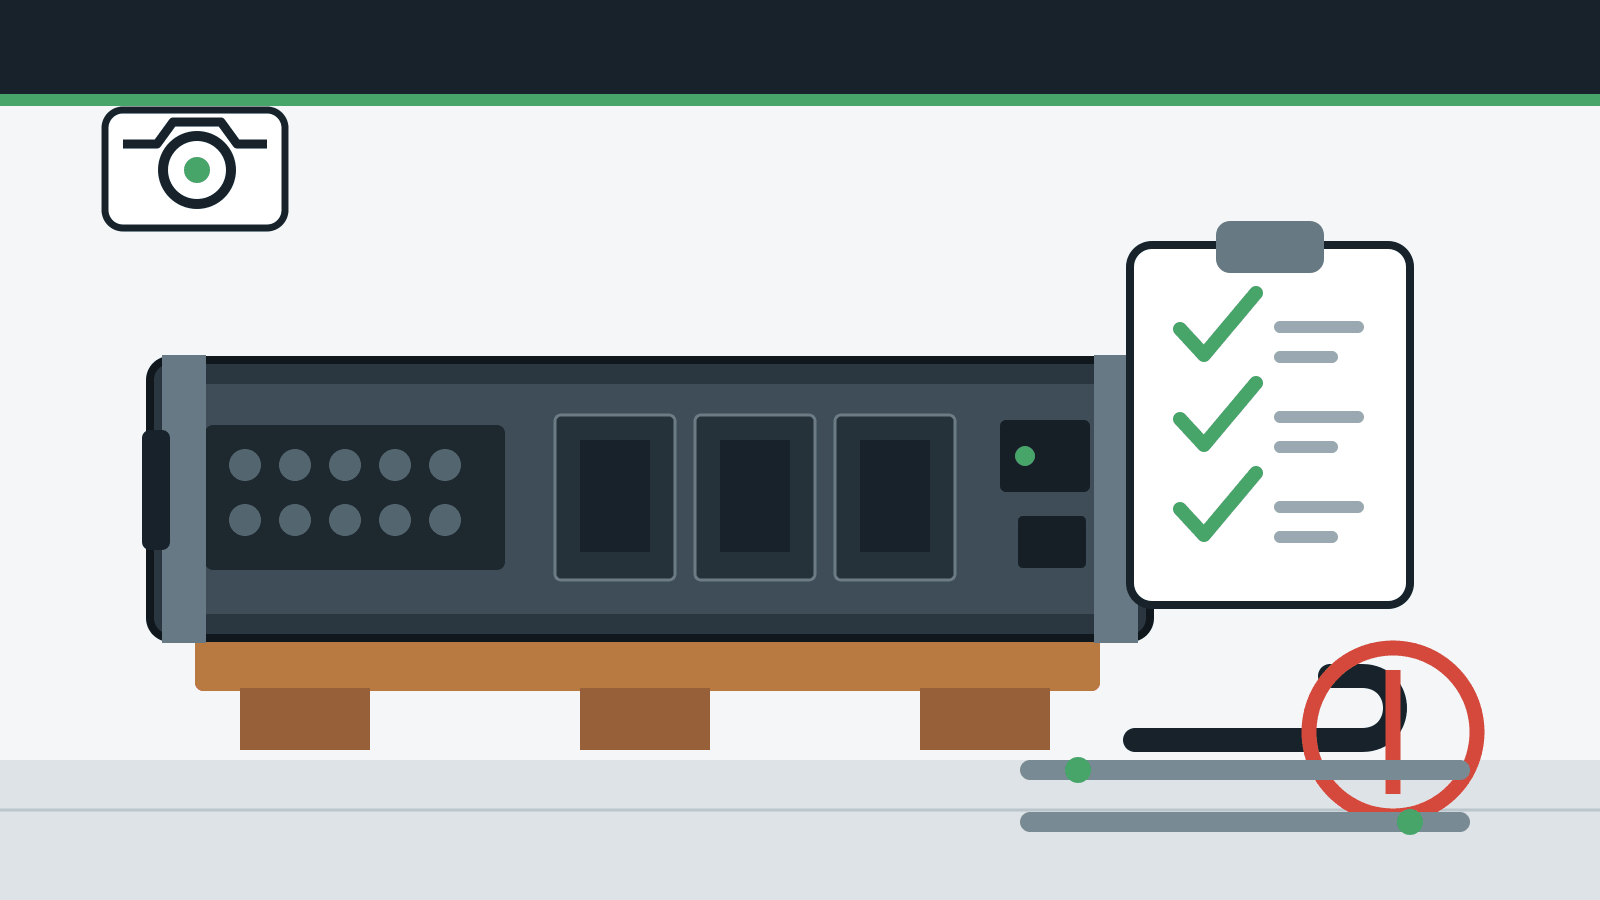
A GPU server should not be powered on simply because the crate has reached the building. The first job is to prove that the system which arrived is the system that was ordered, that transport has not left visible damage, and that the site is ready to receive it.
That proof needs to exist before packaging is discarded or the chassis is moved into a rack. Once the server has been powered, installed and cabled, it becomes much harder to separate shipping damage from a handling mistake, a rack problem or an electrical fault. A ten-minute receiving shortcut can turn into a disputed support case on hardware worth tens or hundreds of thousands of pounds.
Use the checklist below as a delivery gate. The exact manufacturer manual, shipment terms and installation agreement always take precedence. Some factory-integrated systems, including NVIDIA DGX B200, must be installed by authorised partner or field-service personnel to preserve warranty coverage. Do not treat a general guide as permission to open, move or install equipment that your contract reserves for the manufacturer.
The short answer: what must happen before power-on?
Do not energise the server until you have completed five checks:
1. Photograph the unopened shipment and record any carton, pallet, tilt, shock or moisture evidence. 2. Match the model, serial numbers, accessories and configuration documents to the purchase order and packing list. 3. Inspect the exterior, removable trays, mounting hardware and visible connectors without opening restricted assemblies. 4. Confirm that qualified people, the correct lifting equipment, rails, rack space, airflow and electrical provision are ready. 5. Create a dated evidence pack and obtain a clear accept, hold or reject decision from the person responsible for commissioning.
If damage, missing parts or a configuration mismatch appears at any point, stop. Leave the unit unpowered, preserve the packaging and contact the supplier or carrier under the applicable delivery-claim process.
Prepare the receiving record before opening the crate
The receiving team should know what is arriving before the vehicle reaches the loading bay. At minimum, assemble the purchase order, supplier order acknowledgement, packing list, product model, expected serial numbers if available, ordered options, rail-kit details and named technical contact.
For a cluster, add a node schedule. It should assign a planned hostname, rack position and asset identifier to each expected chassis. This avoids an avoidable problem later: installing similar machines in the wrong positions and then discovering that NICs, local storage or memory differ between nodes.
Record the delivery itself:
- date and local time;
- carrier and consignment number;
- number of pallets, crates and loose cartons;
- condition on arrival;
- name of the person receiving the equipment;
- photographs of every side before anything is cut or removed.
Photographs should include the whole pallet, carton corners, straps, punctures, water marks and any shock or tilt indicator. Capture the shipping label and serial label separately, but store those images in the controlled asset record rather than posting them publicly. Serial numbers and delivery labels can expose information that should not sit in a shared chat or an open ticket.
Do not sign a delivery note as undamaged if the packaging shows a material issue you have not inspected. Use the carrier's process to record the condition, and follow the supplier's instructions about concealed damage. Claim windows and required evidence differ, so the contract matters more than a generic rule.
Inspect the packaging before touching the server
Shipping cartons are designed to absorb normal handling, so a scuff alone does not prove equipment damage. Look for evidence that the protective system may have been defeated: a crushed corner, puncture, split seam, displaced pallet block, broken strap, wet carton or a crate that no longer sits squarely on its pallet.
Check whether arrows, tilt indicators or shock indicators have changed state. An activated indicator is not a diagnosis. It is evidence that should be photographed and referred to the supplier before the equipment is moved further.
Keep the unit in its receiving area while this decision is made. Moving a questionable shipment through doorways, lifts and the data hall adds another handling stage and weakens the record of when damage occurred.
Packaging also tells you how the system is meant to be moved. Some GPU servers are too heavy for ordinary manual handling. NVIDIA lists a maximum system weight of 142.4 kg for DGX B200, for example, and its safety guidance requires suitable mechanical assistance for moving and lifting equipment. That figure does not apply to every platform, but it illustrates why the model's own weight and installation guide must be checked before unpacking.
Match the delivered configuration to the order
A model number on the front bezel is not enough. GPU server families often share a chassis while differing in GPU generation, CPU platform, DIMM population, storage, network adapters, power supplies or liquid-cooling equipment.
Compare the packing list and order acknowledgement with every visible identifier. Record:
- manufacturer and exact model or system SKU;
- chassis serial number and supplier asset tag;
- number and type of power supplies;
- rail kit and cable-management parts;
- included power cords and their connector type;
- loose network adapters, optical modules, cables or transceivers;
- bezel, keys, drive blanks and accessory cartons;
- installation media, entitlement details and support registration documents;
- any separately packed cooling distribution or rack-integration parts.
Do not assume that network cables and optics are included. NVIDIA's DGX B200 documentation, for instance, states that supported network cables and adapters are not shipped with the system. A missing cable therefore might be a procurement gap rather than a short shipment. The purchase order and manufacturer documentation settle the question.
For configurable PCIe servers, compare the expected slot map with any build sheet supplied by the integrator. The physical inspection before power-on cannot prove that every DIMM or GPU has the correct capacity, but it can expose a wrong chassis, missing drive carrier, empty adapter position or different rear I/O arrangement.
If the system is part of an HGX server deployment, preserve the platform-level documents that identify the GPU baseboard, NVSwitch generation and approved installation route. For a PCIe GPU server, keep the integrator's slot and power-cable schedule because those details will be needed when the first hardware inventory is collected.
Unpack without creating a second source of damage
Follow the unpacking sequence printed on the crate and in the model-specific installation guide. Keep cutting tools away from the chassis and cable bundles. Remove loose accessory cartons before the main system moves, and place rails and fasteners where they cannot be confused with parts from another node.
Use the handling method specified for that chassis. A rackmount system may need a server lift even when enough people are available to lift its nominal weight. Weight distribution matters; dense GPU, power-supply and storage assemblies can make a chassis awkward and unstable.
The rack must be anchored or stabilised before equipment is installed. NVIDIA's rack safety guidance says to load racks from the bottom upwards with the heaviest equipment at the bottom and to extend only one item at a time. HPE installation guidance for its current servers likewise directs installers to use the supplied rack instructions and place rails at the lowest available position before working upwards.
Do not use bezels, ejector levers, drive carriers or front handles as lifting points unless the manufacturer explicitly identifies them for that purpose. Do not improvise with an incompatible rail set because it appears to fit the rack holes. Rail depth, mounting pattern, load rating and retention hardware form part of the installation system.
Stop if trained personnel or suitable lifting equipment are not present. Delaying installation is cheaper than a dropped chassis, damaged backplane or injury.
Inspect the chassis while it is still unpowered
Place the chassis on the approved lift or staging surface with protective packaging supporting it as intended. Use bright, diffuse light. The objective is to find visible evidence without dismantling assemblies or voiding support conditions.
Inspect the exterior for:
- bent mounting ears, handles or chassis panels;
- gaps where panels should sit flush;
- cracked plastics, displaced bezels or broken latches;
- pushed-in connectors, damaged cage openings or distorted I/O plates;
- loose or partially seated power supplies, fan modules and drive carriers;
- missing blanks, covers, screws or captive fasteners;
- liquid residue, corrosion or moisture inside visible openings;
- debris that could obstruct fans or connectors;
- tamper seals that are broken or inconsistent with the delivery documents.
Look along the chassis rather than only at it from the front. A slight twist can show as an uneven gap between panels or a mounting ear that no longer lies in the same plane as the other side. Photograph any concern with one wide frame for context and a close frame that shows the fault.
Do not shake the server to listen for loose objects. If something moves or rattles during normal handling, stop and record it. Opening the chassis is not automatically the next step. Some systems restrict customer access; others allow inspection only by trained service personnel following electrostatic-discharge controls.
NVIDIA's DGX B200 service documentation tells technicians to use an ESD strap when touching electronic components and to contact Enterprise Support for components or procedures outside the documented customer-replaceable list. Apply the same principle to any vendor: the service manual defines what an authorised operator may inspect or replace.
Check trays, adapters and transport-sensitive parts
Transport can leave a removable module slightly proud without producing obvious carton damage. Visually compare hot-swap power supplies, drive carriers and fan modules. Their latches should sit consistently, and no tray should be forced into position during receiving.
For systems with externally accessible GPU, compute or switch trays, follow the manufacturer's delivered-state check. Do not release a heavy tray or remove a transit restraint until the manual calls for it and the correct support equipment is in place.
Liquid-cooled equipment needs a separate visual gate. Inspect documented quick-disconnects, manifolds, hoses and leak-detection components for displacement or residue, but do not pressure-test or connect facility water as part of a general receiving check. Those tasks belong to the approved installation and commissioning method.
Air-cooled equipment needs its own simple check: all fan modules, blanks and covers required for the designed airflow path must be present. NVIDIA warns that reduced airflow and operation without chassis covers can damage equipment. An empty bay that should contain a blank is therefore not cosmetic.
Confirm the rack and room can accept the system
Arrival does not prove site readiness. Compare the exact model's installation requirements with the planned rack position before the server leaves staging.
Check:
- available rack units and usable rack depth;
- rail compatibility with the front and rear posts;
- maximum rack static and rolling load;
- lift access, aisle width and turning clearance;
- front-to-rear airflow and door perforation;
- service clearance at both ends;
- cable path and bend radius for power, network and optical cables;
- floor loading and rack anchoring where applicable;
- permitted temperature, humidity and contamination range;
- power connector, circuit, PDU and earthing design;
- whether the rack position matches the approved cooling plan.
Never infer the electrical requirement from the number of sockets alone. Use the nameplate, order configuration and manufacturer documentation. DGX B200, for example, uses six qualified locking power cords and NVIDIA warns against substituting other cords. Other GPU servers use different supply counts, voltages, redundancy policies and connector arrangements.
The power-on decision belongs to the electrical and commissioning plan, not to the receiving team. A connector that physically fits is not proof that the circuit, protection, phase allocation or redundancy design is correct.
Build an evidence pack that survives handover
A useful delivery record should let another engineer understand what arrived without reopening the packaging or relying on memory.
Create one record per chassis containing:
| Record | What to capture | | --- | --- | | Identity | Manufacturer, exact model, serial number, asset ID and purchase-order line | | Delivery | Date, carrier, consignment, pallet number and receiving person | | Condition | Packaging photographs, indicator state, chassis photographs and noted exceptions | | Configuration | Supplier build sheet, ordered GPU/CPU/memory/storage/network options and visible differences | | Accessories | Rails, fasteners, cords, bezels, keys, optics, cables and missing items | | Site assignment | Rack, U position, planned hostname, BMC address allocation and owner | | Decision | Accepted for installation, held for clarification, or rejected/RMA requested | | Approvals | Name, date and supplier case number where an exception exists |
Use a consistent file name or asset-system record rather than a folder of unlabelled phone photographs. For a cluster, add a master node map so serial numbers can later be matched to BMC and operating-system inventory.
Do not record passwords in this pack. Default BMC credentials, recovery keys and entitlement information belong in the organisation's approved secrets or licence-management system.
Accept, hold or reject: make the decision explicit
Accept for installation
Accept the chassis when the shipment matches the order, no unresolved damage exists, required accessories are present, the handling and installation method is available, and the site meets the documented requirements. Acceptance here means “ready for controlled installation”, not “proved healthy”. The first-boot and stress-test stages provide that evidence later.
Hold unpowered
Use a hold when evidence is incomplete or the issue may be harmless but needs a supplier answer. Examples include a triggered tilt indicator, a carton puncture with no visible chassis damage, a serial mismatch, a missing rail fastener or an accessory whose inclusion is unclear.
Mark the chassis and its record so another shift cannot rack and power it by mistake. Keep packaging and loose parts together. Open the supplier case while the delivery evidence is fresh.
Reject or request return instructions
Escalate when the supplier confirms rejection criteria, when material damage is visible, when the wrong system arrived, or when safe handling cannot continue. Do not return equipment without the supplier's authorisation and packing instructions. NVIDIA's DGX B200 service guidance, for example, requires an RMA number for systems or components returned for repair or replacement.
What changes for a multi-node delivery?
Scale makes receiving errors more likely because identical cartons encourage batch assumptions. Inspect every pallet and record every chassis identity. Sampling may be reasonable for certain accessory counts if the supplier agrees, but it is not a substitute for serial-level intake.
Keep the node sequence stable from receiving through racking. If six servers intended for one rack have different NICs or local-storage layouts, the distinction must survive the move. Use pallet number, chassis serial, planned hostname and rack position as separate fields rather than trying to encode everything into one label.
Also check shared items: rack integration kits, top-of-rack switches, optical modules, fibre trunks, management switches, coolant parts and spare units may arrive under different consignments. A compute chassis can be accepted while the deployment remains blocked by a missing shared component.
The delivery gate should feed the cluster bill of materials. Later commissioning results are much easier to interpret when the team can show exactly which hardware, cable and rack position belonged to each test.
What if the server is going into colocation?
Ask the facility or remote-hands team to follow the same evidence standard. A photograph saying “server arrived” is not enough. Provide a checklist, expected serials, rack location, permitted unpacking actions and a named escalation contact before delivery.
Where the buyer does not want to manage loading-bay access, lifting equipment, rack integration and facility power, GPUMachines Buy & Host offers an ownership route with colocation. That does not remove the need for acceptance evidence; it moves responsibility into a documented supplier and facility workflow.
What not to do on delivery day
- Do not power on a visibly damaged or disputed shipment “just to see if it works”.
- Do not discard packaging until the supplier's acceptance and claim conditions are satisfied.
- Do not rack a held chassis because installation staff have already been booked.
- Do not open restricted assemblies or reseat internal parts without the service manual and authorisation.
- Do not mix rails, cords or accessories between nodes before recording them.
- Do not let a clean exterior replace later hardware inventory, sensor, firmware and stress-test checks.
- Do not post serial numbers, credentials or delivery labels in public support channels.
The handover into first boot
Delivery inspection ends with an unpowered system whose identity, physical condition and installation path are documented. The next stage is controlled first boot: connect management access, observe POST, check sensors and event logs, and compare the live hardware inventory with the order.
Keep the delivery evidence beside those results. If a GPU, DIMM, drive or NIC does not appear during inventory, the receiving photographs and build sheet give support staff a starting point. Without them, the team first has to reconstruct what should have been present.
For expensive systems, the checklist is not bureaucracy. It protects the buyer, the installer and the supplier by fixing the condition and identity of the equipment before anyone changes it.
FAQ
Should a server be powered on in the receiving area?
Only if the supplier's approved installation procedure explicitly calls for it and the receiving area has the required electrical, cooling and safety provision. Most teams should finish the physical and documentary gate first, then power the system in its planned commissioning location.
How long should the packaging be kept?
Follow the supplier's delivery-claim, return and warranty terms. Keep it at least until physical acceptance is complete and any exception has been resolved. Large systems may require approved packaging for a return, so do not destroy it merely to free floor space.
Can we open the chassis to check GPUs and memory?
Only when the vendor service documentation, warranty terms and your authorised installation role permit it. External inspection and later BMC or operating-system inventory often provide the safer first evidence. If internal access is allowed, use the stated shutdown, ESD and handling procedure.
Is an activated shock or tilt indicator proof of damage?
No. It is evidence that the shipment experienced a condition worth investigating. Photograph it, hold the unit, preserve the packaging and ask the supplier how to proceed. Do not ignore it, and do not diagnose hidden damage from the indicator alone.
Does passing delivery inspection prove the GPU server is healthy?
No. It proves identity, visible condition and readiness for controlled installation. POST, BMC sensors, hardware inventory, event logs and later component stress tests establish operational health.
Sources and further reading
- NVIDIA DGX B200 User Guide: system, power, environmental and network specifications
- NVIDIA DGX B200 Quickstart: installation, registration and first-operation requirements
- NVIDIA DGX H100/H200 User Guide: equipment handling, electrical, rack and airflow safety
- NVIDIA DGX B200 Service Manual: support, customer-replaceable parts and pre-flight testing
- HPE server installation guidance: rails, rack stabilisation and handling
- Dell PowerEdge physical installation and inspection service description